If there is one thing every teacher learns quickly, it is that managing noise is not really about telling students to be quiet. Telling students to be quiet works for about forty-five seconds. What actually works is giving students a visible, objective standard they can measure themselves against — and then holding them to it consistently.
That is exactly what this free Classroom Voice Level Monitor is designed to do. It listens to the sound level in your room in real time, displays the current level on screen, and lets you set your expected level for whatever activity is happening. Pull it up on your Smart Board, set your expectation, and let the visual do the managing for you.
The Four Voice Levels
The monitor uses a simple 0 to 3 scale that you can teach your class in about two minutes and they will remember all year.
Level 0 — Silent. No talking at all. This is the level for quizzes, tests, independent reading, and any moment where the teacher is speaking and students are listening. The monitor displays in calm purple.
Level 1 — Whisper. Very quiet talking — partner check-ins, quiet peer feedback, or working side by side without disturbing others. The monitor displays in teal green.
Level 2 — Discussion. Normal conversational volume for group work, collaborative activities, labs, or classroom games. This is the level most classes spend the majority of their active learning time at. The monitor displays in warm amber.
Level 3 — Too Loud. Outside voice, hallway volume, or noise that is genuinely disrupting the learning environment. The monitor displays in red with an alert. This is the level you want to avoid — and having it on screen makes that clear to students without you saying a word.
How to Use It
Step 1 — Open the tool and click Start Monitoring. Your browser will ask for microphone permission. Click Allow. No audio is ever recorded or sent anywhere — the microphone only measures volume level, and that data stays entirely in your browser.
Step 2 — Set your expected level. Before the activity begins, click one of the four level buttons to tell the class what you expect. For a quiz, click Level 0. For group work, click Level 2. The expectation banner at the top of the monitor updates immediately with the level name and a brief description of the activity context.
Step 3 — Put it on your Smart Board. Click the fullscreen button in the top right corner of the tool. The monitor fills your screen — large enough for every student in the room to see the current level, the expected level, and whether the class is meeting the expectation.
Step 4 — Let it work. When the actual noise level exceeds your expectation, the banner pulses with a red glow and shows a visible alert. Students can see it themselves. Most of the time, the class will self-correct without you needing to say anything — which is the whole point.
Where It Makes the Biggest Difference
During group work and activities. This is where noise management is hardest, because some noise is appropriate and expected. Setting Level 2 gives students permission to talk while still communicating that there is a boundary. When the monitor tips toward Level 3, students can see it and bring it back down.
During independent work or test time. Set Level 0 before distributing the quiz or test. Students can see the expectation displayed on the board before they begin. There is no ambiguity about what is expected, and you do not have to repeat yourself.
During transitions. Set the level to match the transition expectation — Level 1 for moving quietly, Level 2 for a more active transition — so students know the standard before they start moving.
For substitute teachers. Leave the tool open on the classroom computer with the appropriate level already set. A substitute does not need to enforce noise verbally — the monitor does it visually for them.
For students who struggle with self-regulation. Seeing an objective, real-time display of noise level removes the personal element from redirection. It is not the teacher singling anyone out. It is just the monitor showing what the room sounds like. Many students respond better to that kind of neutral feedback than to a direct verbal correction.
Tips for Getting the Most Out of It
Teach the levels explicitly at the start of the year or unit. Spend five minutes walking through all four levels with your class. Have them practice each one. When students know the scale, the visual reminder on the board carries much more weight.
Change the expected level proactively, not reactively. Set the level before the activity begins, not after it has already gotten too loud. If you are transitioning from independent work to group work, click Level 2 as you give the instructions — students see the expectation change in real time.
Use the sensitivity slider to calibrate for your room. Every classroom is different. A small quiet room and a large open-plan space will have very different baseline noise levels. Adjust the sensitivity slider until the monitor responds correctly for your specific environment.
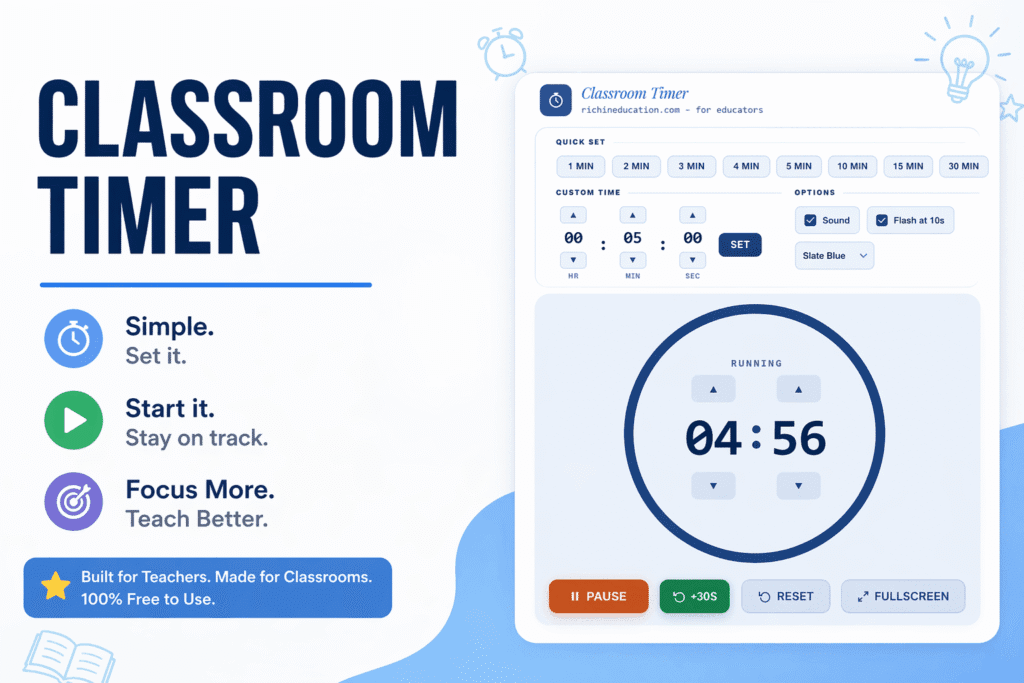
Pair it with a timer. Display the voice monitor alongside a classroom timer during timed activities. Students can see both the time remaining and whether the class is meeting the noise expectation — two pieces of information that help them manage their own behavior during work sessions.
More Free Classroom Tools
- Classroom Random Name Picker — spin to pick a student randomly for fair participation
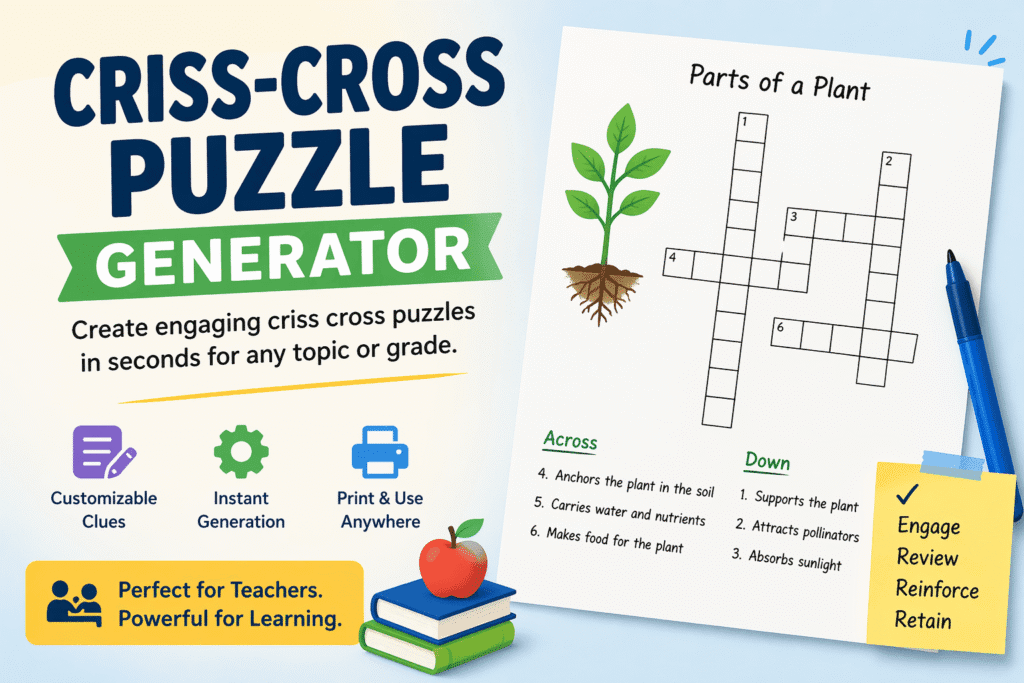
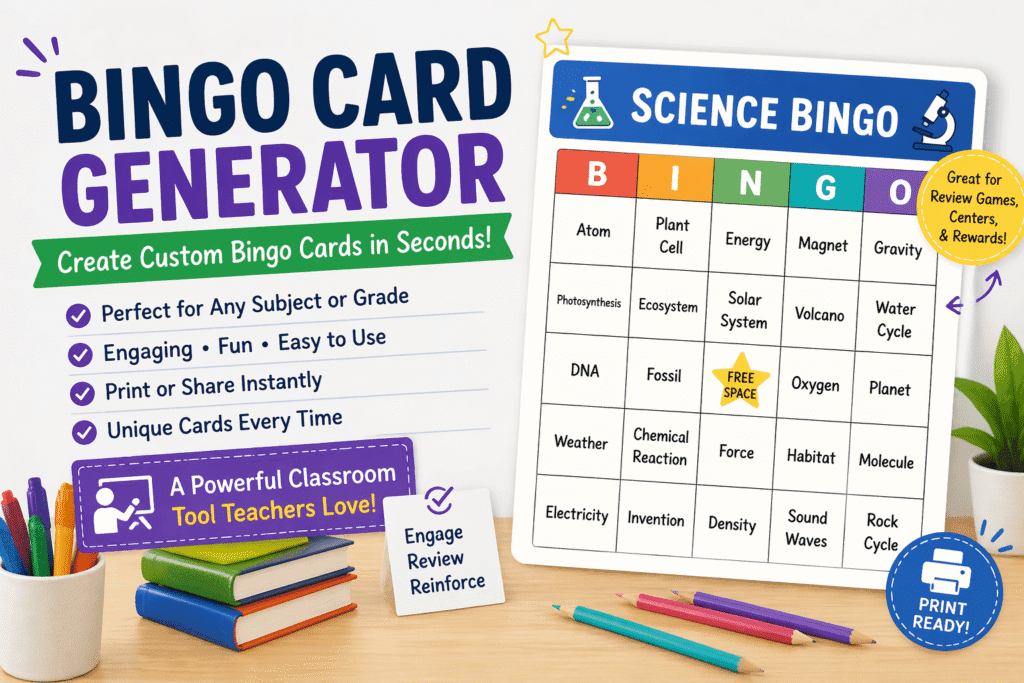
- Bingo Card Generator — unique bingo cards for your whole class with a caller sheet
- Word Search Generator — custom vocabulary puzzles from your own word list
- One-Step and Two-Step Equations Worksheet Generators — printable algebra practice with answer keys
All tools are free, require no account, and are built for real classroom use.